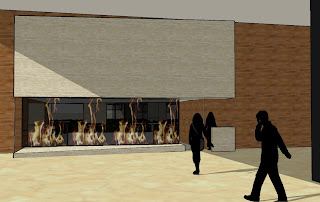
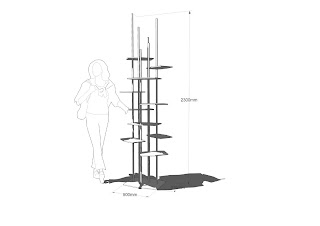
Welcome Interior Designers to your customized Google SketchUp Tutorial for fast 3D thinking and communication. Google SketchUp is a software that you can use to create, modify and share 3D models. It's easier to learn than other 3D modeling programs, which is why so many people are already using it. Become a SketchUp master by completing the 5 exercises below. Good luck!
WHAT YOU NEED:
1- SKETCHUP PRO 6 or DOWNLOADED VERSION CLICK HERE if you don't already have it.
2- HEADPHONES TO LISTEN TO VIDEO TUTORIALS
3- A PLAN YOU ARE CURRENTLY WORKING ON
Introduction:
What can be done with SketchUp?

Quick visualization

Furniture Building
Presentation rendering
Presentation walk through
Rendering with Plugins
SketchUp Basics:
Learn basic concepts, tools and simple model making.
Lesson #1 - SketchUp concepts
Lesson #2 - Start a drawing, Part 1 - click here
Lesson #3 - Start a drawing, Part 2 - click here
Lesson #4 - Start a drawing, Part 3 - click here
Lesson #5 - Digital Woodworking, Part 1
Lesson #6 - Digital Woodworking, Part 2
Exercise 1: By now you should know the basics. Now go ahead and build cabinet in 3D.
Intermediate Part 1:
Learn how to build your 3D models using existing plans and sketches as well as how to view them in different views.
Lesson #7 - SketchUp and CAD
Lesson #9 - Model a House from an Image, Part 2
Lesson #11 - Sections 101, Part 2
Exercise 2: Take a simple plan you are working on and build a small area in 3D. Place your chair inside. View your 3D model in plan, elevation, section and perspective. Then, create a sections animation of your choice.
Intermediate Part 2:
Learn how to add materials, light and shadow to your model as well as how to import your model to Google Earth to view actual shadow patterns.
Lesson #12 - Color and Materials - click here
Lesson #13 - Light and Shadow
Want some Google earth action? - click here
Exercise 3: Add realistic materials and place your model on it's actual site location using Google Earth. Save your model with the shadow settings at 8am and 8pm.
Learn some Ruby Scripts tips and tricks and animate your model with SU Animate plugin.
Lesson #14a - Ruby Scripts, Part 1 of 2
Make life easier with SketchUp ruby scripts - click here to download
Lesson #15 - Walk through animation with SU
Animate
Download SU animate - click here
Exercise 4: Create a walk through of your model
SketchUp Expert:
Make your models look real with SU Podium
Download SU Podium - click here
Lesson #16 - Learn how to create photo-realistic renderings with SketchUp and SU Podium - click here
SU Podium videos - click here
CONGRATULATIONS!!!
YOU ARE NOW A SKETCHUP MASTER!!!
